
Table of Contents
Demolition junk is complicated and intimidating, but you can do it safely and efficiently with the right tools and equipment. Whether you have to make a new room or want to get rid of your backyard, you must know how to remove the shed.
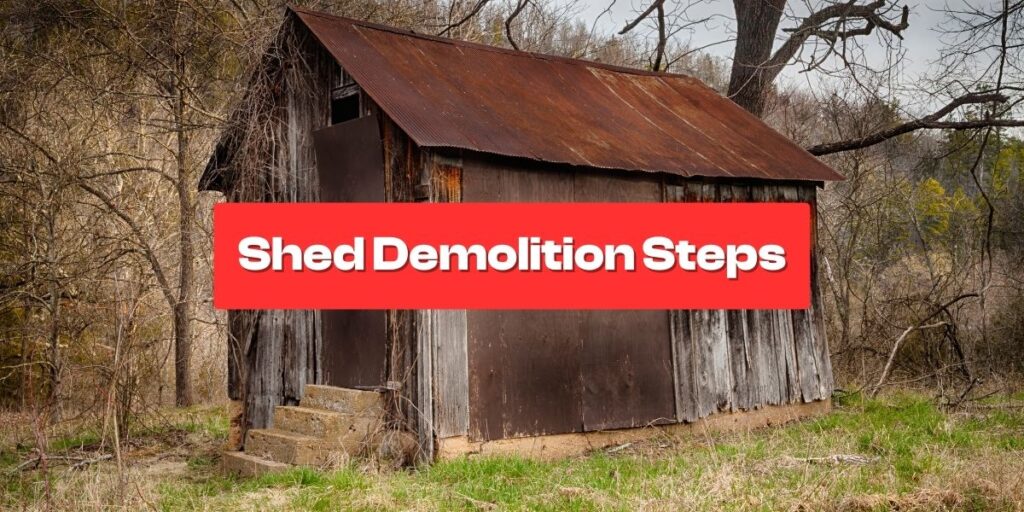
There are many methods to demolish the shed, which include deconstruction by hand, Excavator deconstruction, and skid steer deconstruction. All of these methods have their advantages and disadvantages. Shed demolition can depend on the risk and the cost. 90% of shed removal is most effective when done by hand. Here is a step-by-step guide to ruin the shed and reconstruct it.
Sheds are not built to last forever; eventually, there will come a time when the shed needs to be knocked down. You can demolish and clean the shed project with the right tools and equipment within 6-7 hours. You might hire a shed and duck demolition company for your removal project.
How to remove the shed?
Demolishing the shed is easier than it seems. You have to follow these steps:
Planning and preparation
Before beginning to tear into your shed, take a moment and make a proper plan and preparation. If you make an appropriate demolition plan, you will succeed, and it will be straightforward to handle all situations smoothly.
You need to check whether your city requires a demolition permit or not.
If not, start the process. If yes, then you have to go to obtain the license. You have a proper plan for which tools you will use during the whole process. Then, you will have a proper plan to dispose of large piles of waste and debris and determine what disposal method you choose, like hiring the dumpster or renting the dumpster.
Tools and equipment needed for the shed
Every shed comprises different types of materials, and various tools are needed for removal. It would be best to have a hammer, pry bar, chisel, and utility knives. Here is the list of the necessary tools that you will need during the process.
| Tools Needed | Price Range |
| Ladder | $70-$170 |
| Hammer | $50-$100 |
| Utility knives | $10-$30 |
| Prybar | $50-$80 |
| Saw | $150-$400 |
| Safety Googles | $20-$50 |
| Cordless drill | $100-$500 |
Empty the shed
If you follow this step, this makes the process easier. Go ahead and make separate piles of things you need and the things you do not need. Make sure to keep hazardous waste materials aside, like flammables, different chemicals, and aerosols. These materials are moved adequately by contacting your area’s city waste management department.
Also, dispose of those items and put them on one side. If your shed has electricity or running water, disconnect those lines before starting the process. Ensure you take all the precautionary measures before you begin the demolition process.
Remove the doors, windows, and shelves
The next step is to remove the door, windows, and shelves. You can also remove the wall hangings, hooks, and bars and put them aside. When removing the door, unhinge your shed door with a screwdriver.
You can also use the screw that holds the doors, windows, and the shelves. To remove the window, you can use a hammer or chisel to remove the window frames. Then, you can pry out the nails holding the window in place.
Remove the roof
The next step is removing the roof. To remove the roof, use a ladder and saw with a sharp blade to cut the roof into sections. To remove the shingled roof, start from the roof peak, gently unscrew the panel with the screwdriver, and remove the panels from the roof or place them in a pile.
So, if you plan to reuse some parts of the roof, like Polywood, ensure you only cut the part of the roof you want.
Remove the walls
After you have successfully removed the roof, deconstruct the walls. There are many ways that you can remove the wall. So, after removing the pieces, there is a chance that the shed will become structurally weak. Stay away from those items that could fall.
Use the hammer and the pry bar to separate the siding from the shed. Make sure you start the work from the top and then come down. Removing one stud at a time will help to prevent sudden injury.
Remove the floor
Once the walls are removed, the next step is to remove the floor. If your floor is Polywood, you can use the crowbar to tear up the floorboard. You can also use a hammer to remove the joists from their anchors. If you have wood flooring, use the same method.
But if your floor is a concrete slab, use the sledgehammer to break it into smaller pieces. You can also recycle or reuse the concrete slab floor. Removing the floor in the shed depends on what material the floor is made of.
Shed disposal
Once you have demolished the shed, it’s time to pick up the dust and debris. Proper waste management is essential. Responsible waste disposal contributes to environmental sustainability and gives a healthy living environment.
Options for shed debris disposal
Here are some of the ways to get rid of the debris caused by demolition. These are
Rent a Dumpster
The dumpster rental is the best way to get rid of debris demolition. There are a lot of benefits to using dumpster rental services. A dumpster is a cost-effective and convenient way to dispose of the shed.
Junk Removal Company
It is going to be more expensive than renting your dumpster. Hiring a junk removal company can cost you an average of $300 to $500.The cost also depends on the type of junk and how much shed debris you have.
Haul it on your own
The other way to get rid of the shed is to haul it alone. If you carefully handle the debris, you can drag it independently.
Conclusion
Now you can understand the shed demolition steps. Most people can do it themselves. Make sure that you have time and the necessary tools and equipment available to start up the process. Make a proper plan, gather the tools, empty the shed, and remove the roof, walls, doors, windows, and the floor. Consider your budget for the shed debris disposal and the removal cost.